3 Ways to Sew Fur Pelts Together
Fur pelts have been used in clothing, accessories, and home decoration for centuries. They are warm, luxurious, and visually appealing, making them a popular choice for various items. As with any material, sewing fur pelts together can be challenging if you don’t know the right techniques. In this article, we will explore three ways to sew fur pelts together to achieve a beautiful and professional look.
1. Hand Sewing
Hand sewing is a timeless method used for sewing fur pelts together. It allows for precision and control while working with the delicate material. To hand sew fur pelts together, follow these steps:
a. First, begin by brushing the fur away from the edges of the pelts to expose the leather backing.
b. Use neat and even stitches to sew along the leather backing only; do not pierce through the fur itself. This will make your stitches invisible from the fur side.
c. Choose a strong thread made of nylon or cotton that closely matches the color of the leather backing.
d.Use a whip stitch or overcast stitch by looping the thread over the edge of the leather and pulling it through on both sides.
2. Machine Sewing
Although hand-sewing may provide better precision when working with fur pelts, machine sewing can save you time while still providing a stylish finish. To machine sew fur pelts together:
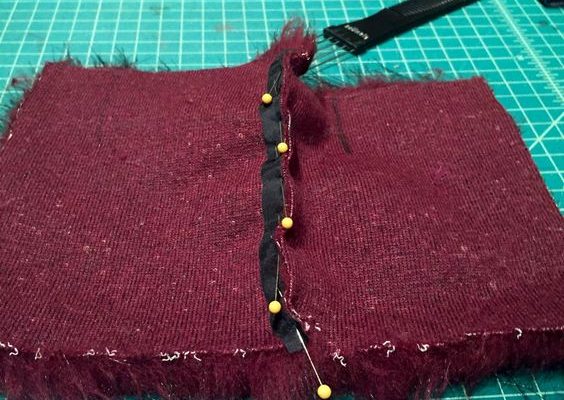
a. Carefully pin your fur pelts together, ensuring that no excess fur is caught in between.
b. Select the appropriate needle for your sewing machine—one that is designed for working with leather or heavy materials.
c. Adjust your machine’s settings so that they accommodate heavy materials and give you room to maneuver around your work area.
d. Sew along the leather edge using a straight or zigzag stitch, taking care not to catch the fur in your stitches.
3. Furrier’s Tape
A non-sewing technique, furrier’s tape is another efficient method to join fur pelts together. This adhesive tape bonds the leather backing of the pelts and is suitable for small and lightweight projects. Here’s how to use furrier’s tape:
a. Measure and cut lengths of furrier’s tape that match the size of each seam you are joining.
b. Make sure that the edges of each pelt are clean and dry before you apply the tape.
c. Peel back the protective film from the adhesive side of the tape and carefully press it onto one edge of the leather backing.
d. Align the other pelt with the treated edge, ensuring that all parts match up correctly, and press firmly to create a strong bond.
In conclusion, there are several ways to sew fur pelts together, whether you prefer hand sewing, machine sewing, or using furrier’s tape. Each method has its advantages, so choose the one that best suits your needs and skill level when working with this elegant material. With practice, you will become an expert at sewing fur pelts together to create beautiful clothing items, accessories, and home decorations.