3 Ways to Curl Your Hair with Straws
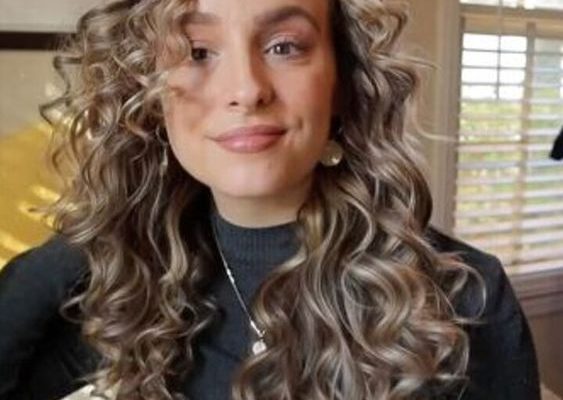
Curling your hair doesn’t always require expensive tools or salon appointments. Believe it or not, you can achieve beautiful curls at home with nothing more than a pack of regular drinking straws. This low-cost, eco-friendly method is safe for all hair types and will give you lasting curls without using heat. Here are three ways to curl your hair using straws:
1. Classic Straw Curls
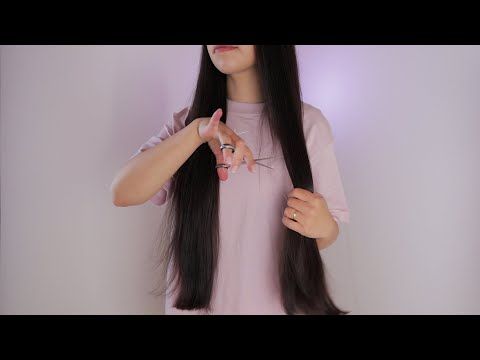
For this method, you’ll need a bunch of drinking straws, bobby pins or small hair ties, and a spray bottle filled with water.
Step 1: Dampen Your Hair
Spritz your hair with the water until it’s slightly damp but not soaking wet.
Step 2: Section Your Hair
Divide your hair into evenly-sized sections, depending on how tight you want the curls to be.
Step 3: Wrap Your Hair Around the Straw
Take one section of hair and wrap it around a straw from top to bottom. Once wrapped, secure both ends of the straw either by tying it off using the small hair ties or bobby pins.
Step 4: Sleep & Set
Repeat steps 2 and 3 for all sections of hair and then sleep in the straws overnight.
Step 5: Unwrap & Style
In the morning, gently remove the straws one by one and finger-comb your curls to achieve the desired finish.
2. Straw Knots
Straw knots add volume and texture to your curls. In addition to drinking straws, you’ll need a comb and bobby pins for this method.
Step 1: Prep Your Hair
Comb your dry or damp hair thoroughly to remove any knots or tangles.
Step 2: Pick Your Strand
Choose a section of hair and wrap it around the middle of a straw vertically.
Step 3: Tie & Secure
Tie the hair around the straw like you would tie a shoelace and secure both ends with bobby pins.
Step 4: Repeat & Dry
Cover your entire head with straw knots before allowing your hair to air-dry or sleep with straws in overnight.
Step 5: Release the Knots
Unpin each straw knot and carefully slide your hair off the straw to reveal the curls.
3. Straw Braid Curls
If you prefer looser curls, try incorporating braids into your straw curling routine. You’ll still need drinking straws, bobby pins or hair ties, and a comb.
Step 1: Prep Your Hair
Ensure your hair is clean, dry, and tangle-free by combing it thoroughly.
Step 2: Section & Braid
Split your hair into even sections, depending on the desired curl size. Braid each section until you are left with a loose tail at the end.
Step 3: Straw Wrap
Wrap the remaining loose tail around a drinking straw and secure it using bobby pins or a hair tie.
Step 4: Wait & Dry
Allow your hair to dry completely while wrapped around the straws. You can leave it to air-dry or sleep overnight with the straws in place.
Step 5: Unravel & Style
Carefully remove the straws from each section and unravel the braids for loose, voluminous curls. Run your fingers through your curls to separate them and achieve your desired look.
In conclusion, curling your hair with straws is an affordable and heatless method that can produce gorgeous results. Experiment with these techniques to discover which one suits your style best – be it classic straw curls, straw knots, or straw braid curls. Happy curling!