3 Simple Ways to Install an Outdoor Security Camera
Introduction:
Outdoor security cameras play a crucial role in ensuring the safety of your property. By monitoring every movement outside your home, these surveillance gadgets can provide you with an extra layer of protection against intruders and other potential hazards. If you plan on installing an outdoor security camera, this article will guide you through three simple methods to accomplish the task.
Method 1: Wireless Security Cameras
Wireless security cameras have grown popular due to their ease of installation and configuration. To install a wireless outdoor security camera, follow these steps:
1. Choose a suitable location: Find a spot that provides extensive coverage of the area you want to monitor, such as your driveway, front porch, or backyard.
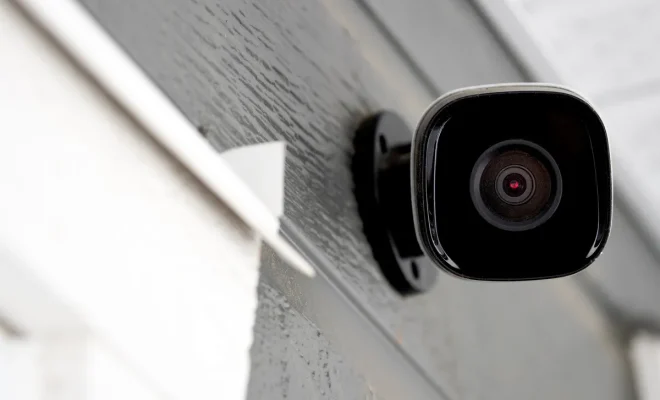
2. Mount the camera: Attach the mounting bracket to the wall using screws and anchors provided by the manufacturer. Ensure that the surface is stable and solid.
3. Connect to power: Most wireless security cameras come with a power adapter. Plug it into a nearby outdoor power outlet, or use an extension cord if needed.
4. Set up the camera: Turn on your wireless camera and follow the manufacturer’s instructions for connecting it to your Wi-Fi network via a smartphone app or computer program.
Method 2: Wired Security Cameras
Though wired security cameras may require more effort during installation, they often provide higher image quality and more reliable connections compared to wireless models. To install a wired outdoor security camera, follow these steps:
1. Select an ideal location: Similar to wireless cameras, choose an area with good coverage of your property.
2. Drill holes for mounting: Mark where you would like to place the camera on your wall or ceiling and drill holes accordingly for the mounting bracket and wiring.
3. Run cables: Route both ethernet cable (for data transmission) and power cable through conduits or along surfaces from your camera’s location back to where your DVR or NVR is placed.
4. Connect cables: Attach the ethernet cable to your DVR or NVR, and plug in the power cable for the camera.
5. Complete the setup: Follow manufacturer’s instructions for configuring your wired camera with the recording system and/or a smartphone app.
Method 3: Solar-Powered Security Cameras
Solar-powered outdoor security cameras are an eco-friendly option that saves on energy costs. To install this type of camera, follow these steps:
1. Choose the right location: Apart from ensuring great coverage, also consider a spot having ample sunlight exposure for efficient solar charging.
2. Install mounting brackets: Securely attach the mounting bracket to your chosen surface using screws and anchors as provided by the manufacturer.
3. Attach the camera: Place the solar-powered camera onto its bracket and adjust its position to get optimal field of view.
4. Check connectivity: As with other security cameras, this type also needs to connect to Wi-Fi or a DVR/NVR system. Follow manufacturer’s instructions for connecting your device.
Conclusion:
When it comes to securing your property, an outdoor security camera is a wise investment. By following these three simple installation methods – wireless security cameras, wired security cameras, or solar-powered cameras – you’ll be well-equipped to safeguard your home against unwanted intruders and stay alert about any suspicious activities taking place around it.